Python IDEとしてのAtomの設定[ガイド方法]]


@DavidDataScienceDavid
機械学習とデータサイエンスのエバンジェリスト、HPCクラウドスペシャリスト、創設者兼Innervator
上記のパロディ漫画とは対照的に、Atomは立派なエディタであり、EmacsとVimで育った私たちのためにkeybindingプラグインが用意されているので、マウスフリーのコー
Atomは当初Githubから開発されましたが、オープンソースで拡張可能な性質、サポートと追加のプラグイン機能を提供する強力なコミュニティによって、開発のた
私は主にPython、Julia、シェルスクリプト、web開発にAtomを使用しています。 別の記事では、Microsoft Visual Studio Codeを同様の方法で設定する方法を示します。 コードはまた、オープンソース、無料で、大規模なコミュニティによってサポートされており、あなたはまた、様々なコンパイラや独自のデータベースのためにコー
注:この記事の終わりに向けて、すべてのプラグインのリストの保存を自動化して、後でグループとして再インストールしたり、コードリポジトリに保持したり、新しい開発マシンに移行したりできるようにする方法について説明します。 私自身、私はクラウドで私の設定を維持するので、私は予測可能なセットアップでクライアントの場所で作業を続けることができます。
これらの命令はテストされ、
Atom 1.40および
Python 3以降で有効です。 (以前のバージョンのAtomでは動作するかもしれませんが、テストされていません。)
1. Atom
をダウンロード”Atomは、Nodeで書かれたプラグインをサポートするmacOS、Linux、およびMicrosoft Windows用の無料のオープンソースのテキストおよびソースコードエディタです。js、およびgithubによって開発された埋め込みGitコントロール。 Atomは、web技術を使用して構築されたデスクトップアプリケーションです。” https://flight-manual.atom.io/getting-started/sections/why-atom/
AtomのUIを使用して、Atomの設定ビューを使用して以下のプラグインをインストールできます。
ctrl +(LinuxまたはPCの場合)、および
cmd +(Macの場合)と入力するだけです。
または、設定ビューを表示するには、[インストール]タブをクリックし、インストールするパッケージ名を[パッケージの検索]検索ボックスに入力します。
実際にターミナルウィンドウを使用したい私たちの残りの部分のために、私は以下のシェルコマンドを提供します。
2. Linterパッケージをダウンロードする(ソースコードチェッカー)
“Linterは、ハッカブルAtomエディタのためのベースlinterプロバイダです。 さらに、あなたの言語のための特定のlinterをインストールする必要があります。 あなたは上の完全なリストを見つけるでしょうatomlinter.github.io.
これは、エラーやその他のタイプのメッセージを簡単に視覚化できるように、コンシューマにトップレベルのAPIを提供します。”

https://atom.io/packages/linter
または、コマンドラインで:
$ apm install linter今、我々はまた、言語固有のlinterプラグインをダウンロードする必要があります(私はflake8が好きですが、上に記載されている選択肢がありますatomlinter.github.io 上記のようなページ:
https://atom.io/packages/linter-flake8
または、コマンドラインで:
このプラグインを使用するには、flake8がシステムにインストールされている必要があります。 まだインストールされていない場合は、端末に次のように入力してflake8をインストールできます:
$ pip install flake8$ apm install linter-flake83. PythonのオートコンプリートパッケージとAutoFormatter
をダウンロードします。”パッケージ、変数、メソッド、関数の引数を含むPythonの補完。 ジェダイやカイトのあなたの選択によって供給。”Jediはローカルベースのライブラリであるため、私自身はオンラインライブラリを必要とするKiteよりもそのライブラリを好みます。
https://atom.io/packages/autocomplete-python
または、コマンドラインで:
$ apm install autocomplete-python“インストールされたautopep8を使用して、pep8ガイドラインに従ってpythonコードを書式設定します”
https://atom.io/packages/python-autopep8
または、コマンドラインで:
$ pip install autopep8$ apm install python-autopep84. スクリプトパッケージをダウンロードする
“ファイル名、コードの選択、または行番号に基づいてスクリプトを実行します。”これは、別のターミナルウィンドウに移動するのではなく、Atom内からコードをテストするのに非常に便利で、選択ベースであるため強力です。
https://atom.io/packages/script
または、コマンドラインで:
$ apm install script5. ダウンロードFile-Iconsパッケージ
“Visual Studio Code用のvscode-icons pack(https://github.com/vscode-icons/vscode-icons)に似たファイルアイコンで、logo-file-icons pack(https://atom.io/packages/logo-file-icons)から構築された微調整と
追加されています。 ツリービュー uiは、visual studioコードのそれに近い一致するようにtweeks。 Visual Studio CodeとAtomの両方を使用する傾向があるため、一貫性を維持するのに役立ち、Atomのデフォルトよりも優れています。
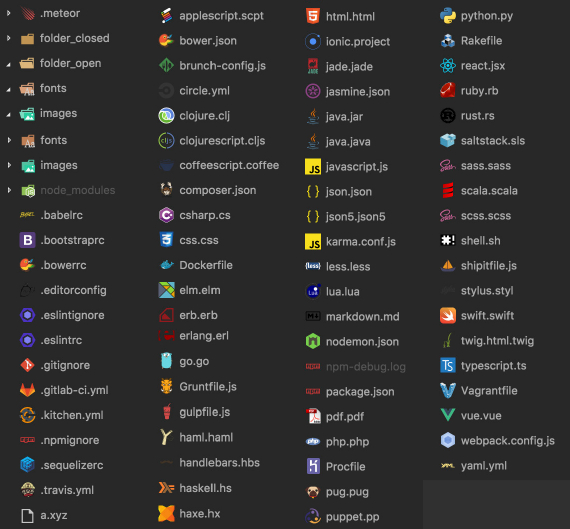
https://atom.io/packages/atom-file-icons
または、コマンドラインから:
$ apm install atom-file-icons6. 構文強調表示テーマをダウンロード
“Atom Material UIの構文テーマです。 Mattia AstorinoのSublimeTextテーマに触発されました。”
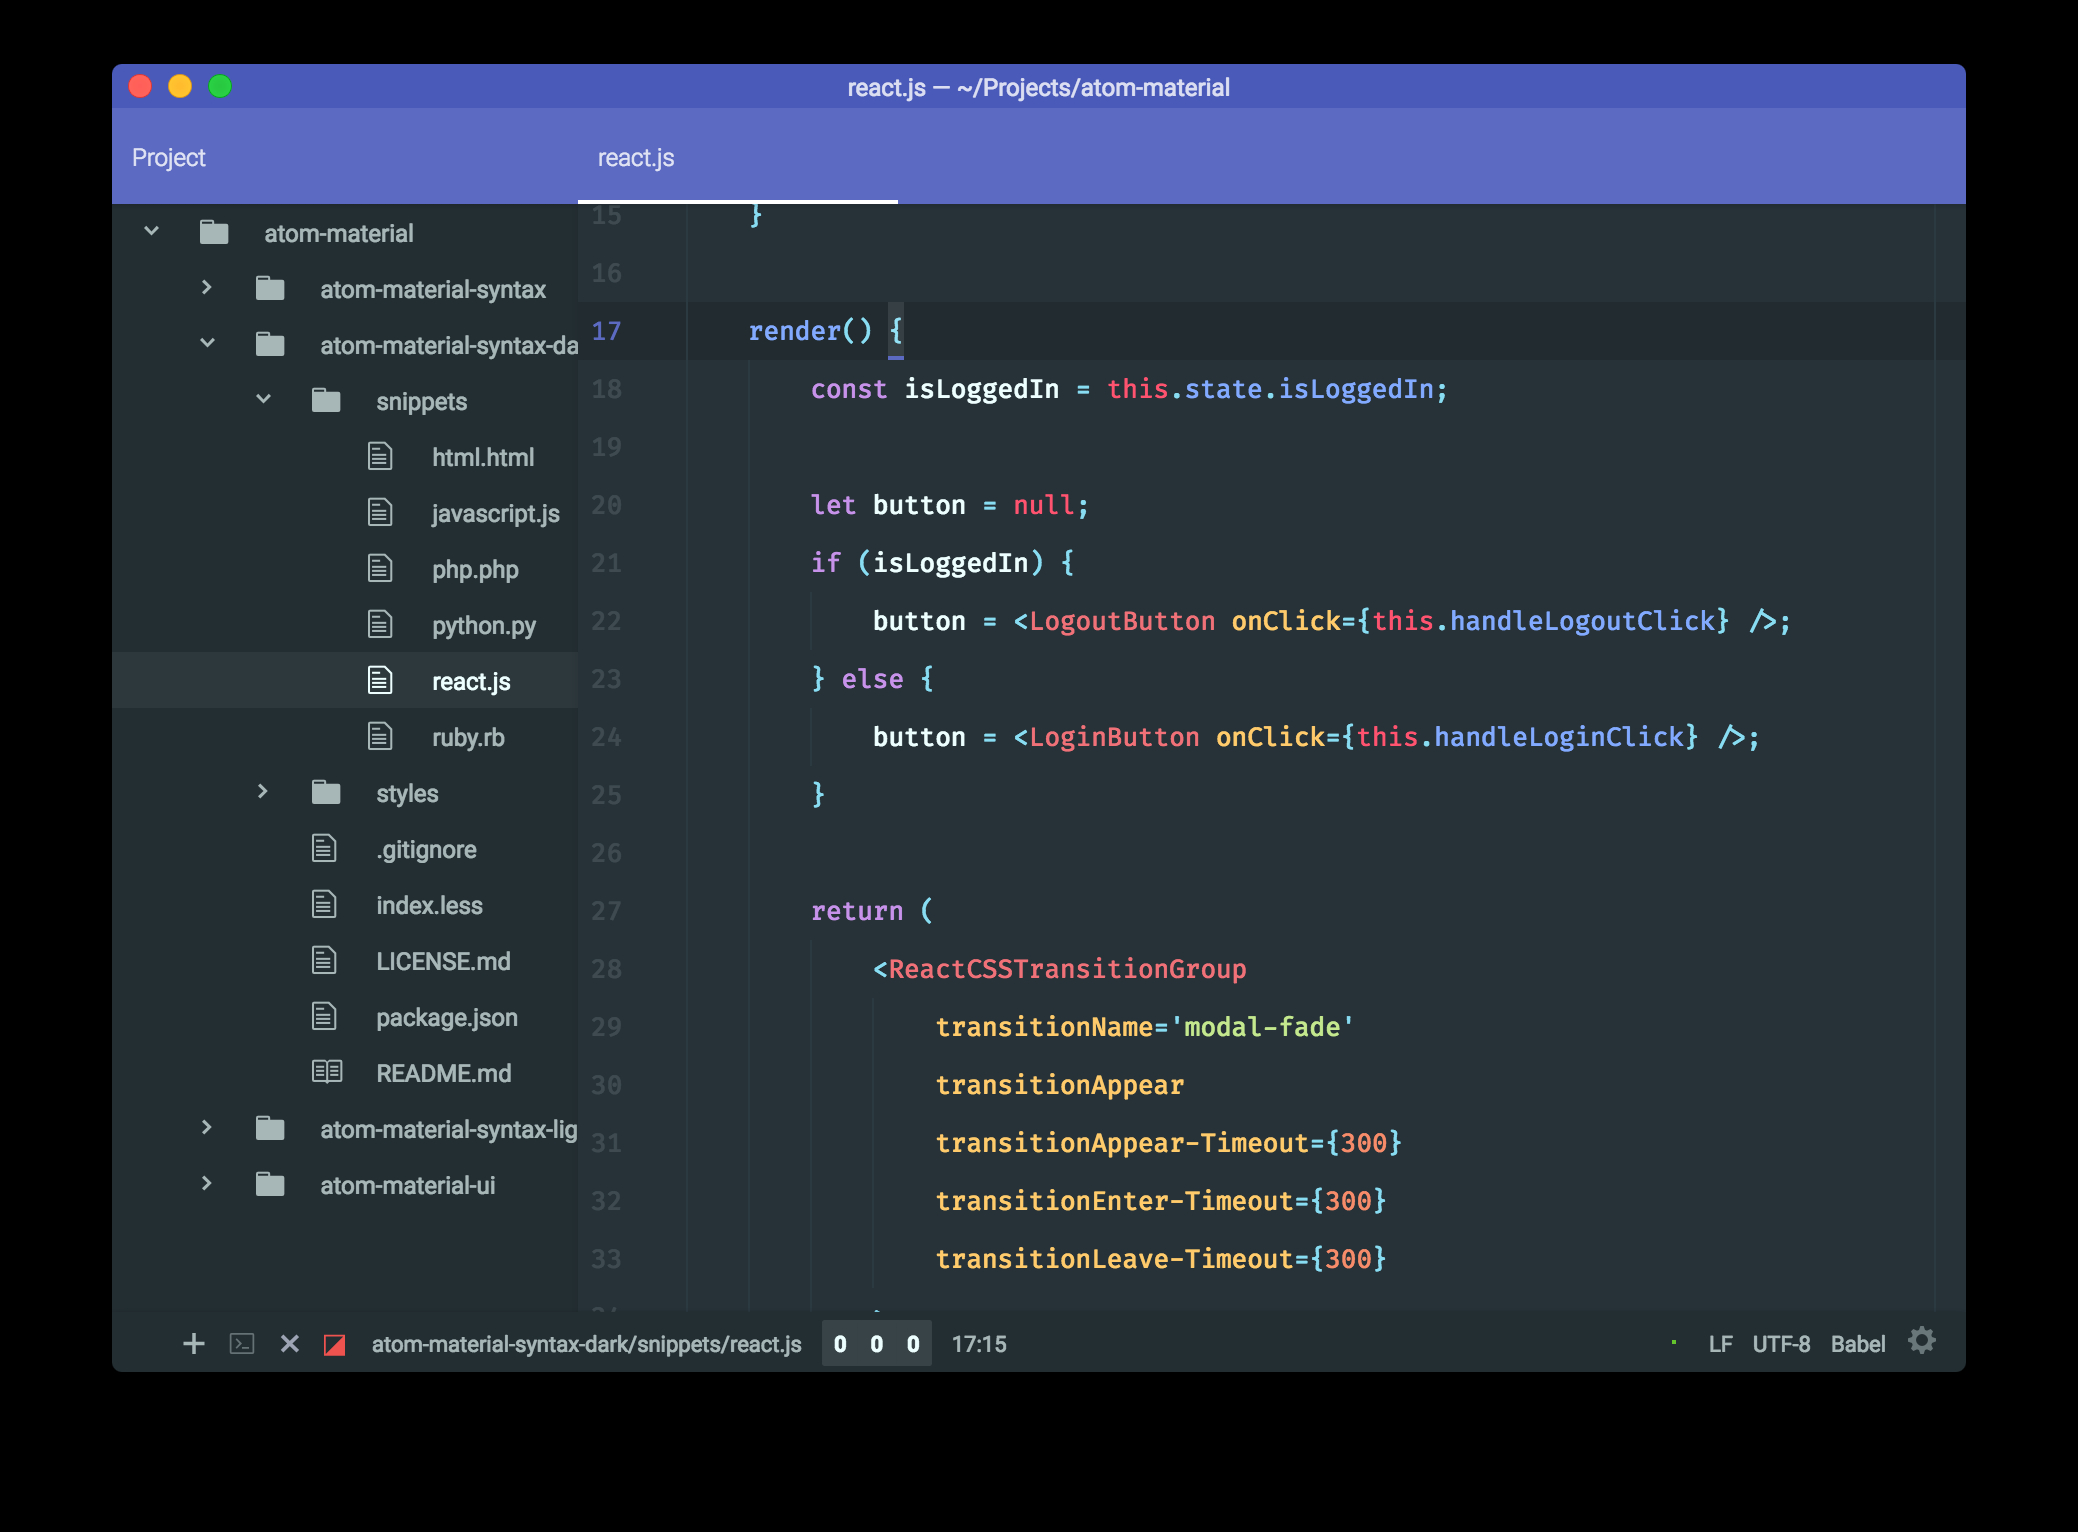
https://atom.io/packages/atom-material-syntax
または、コマンドラインから:
$ apm install atom-material-syntax7. ダウンロードとインストールMinimap
Minimapパッケージは、エディタの右側にファイルのミニマッププレビューを表示します。 Minimap-git-diffおよびminimap-highlight-selectedプラグインも便利です。
https://atom.io/packages/minimap
または、コマンドラインから:
$ apm install minimap$ apm install minimap-git-diff $ apm install minimap-highlight-selected 8. Jupyter Notebookプラグイン
をダウンロードしてインストールします。”Jupyter Notebookのように動作するが、Atom内で動作するパッケージ。 それはのためのオープナーとして登録されています。ipynbファイル-1つを開いてみてください!”
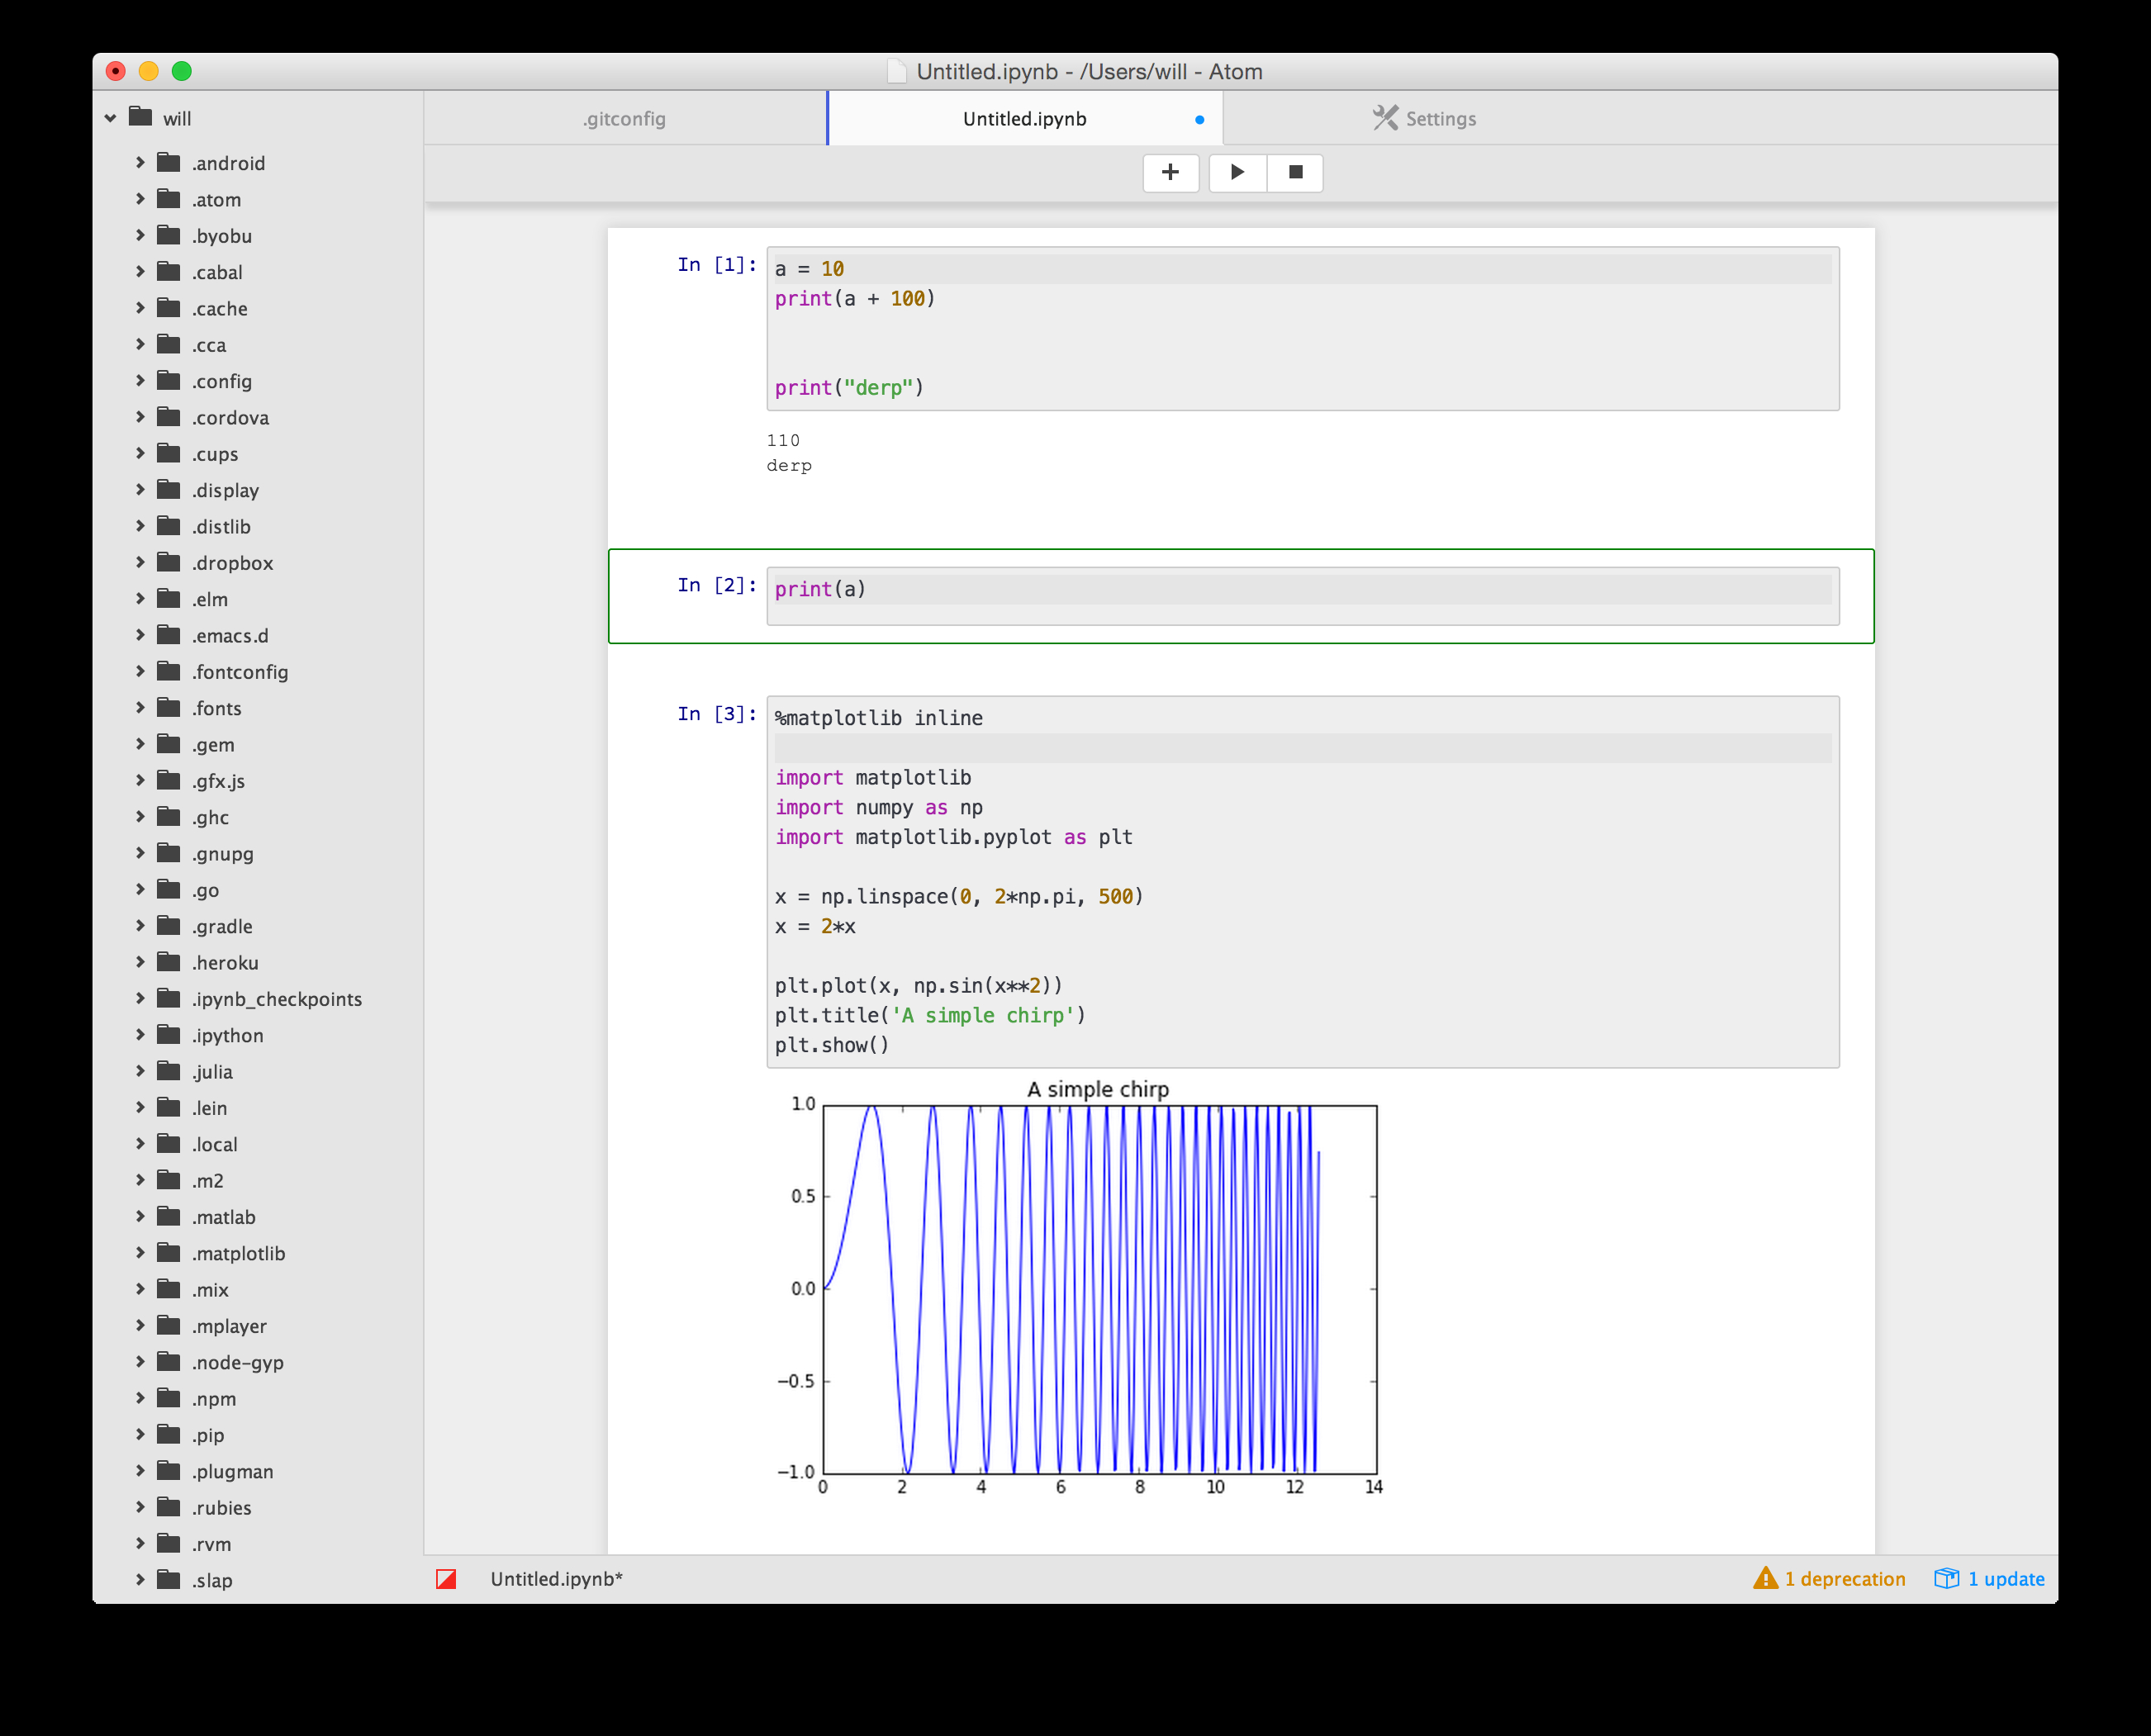
https://atom.io/packages/jupyter-notebook
または、コマンドラインから:
$ pip install jupyter jupyter_kernel_gateway$ apm install jupyter-notebook代わりに、Hydrogenパッケージを見ることができます:
Hydrogenはコードを対話的に実行し、データを検査し、プロットすることができます。 お気に入りのテキストエディタ内のJupyterカーネルのすべての力。 Python、R、JavaScript、およびその他のJupyterカーネルをサポートしています。
あなたが水素で何ができるかを確認するために、ドキュメントと媒体のブログ記事をチェックアウトします。
9. Atom
のバージョン管理サポートの改善私はいくつかのクライアントで働いているので、私はしばしばGithub、gitlab、Bitbucketを別のリポジトリに切り替えています。 で以下の検索をご覧くださいhttps://atom.io/packages:
- git-control
- git-plus
- git-blame
- git-time-machine
- gitlab
- open-on-bitbucket
10. 構成の移植性のためのバージョン管理(またはクラウドドライブ)の使用
Atom構成ファイル、および他の構成ファイルをバージョン管理するために使用します。
:
~/.atom/config.csonウィンドウズ:
%USERPROFILE%\.atom\config.cson C:\Users\{name}\AppData\Local\atom\config.csonその後、Github、gitlab、BitbucketなどでGitリポジトリをホストしてクローンすることができます。、単に実行することにより、他のコンピュータ上でそれを取得します:
$ git clone https://github.com/{username}/{repo}他のソース管理リポジトリと同様に、(変更をアップロードするために)および(変更をダウンロードするために)最新の状態に保つことができます。
git pushと
git pull記事の冒頭のメモで述べたように、インストールされているパッケージの共通のリストを追跡するために、ターミナルシェルで次のように実行します:
$ apm list --installed --bare > ~/.atom/package.listそして、そのファイルをソース管理されたGitリポジトリにも追加します。
Atomの新規インストールに自動的にパッケージをインストールするには:
$ apm install --packages-file ~/.atom/package.list私の
package.listファイルの例は以下の通りです:
[email protected]@[email protected]@[email protected]@[email protected]@[email protected]@[email protected]@[email protected]@[email protected]@[email protected]@[email protected]@[email protected]@[email protected]@[email protected]@[email protected]おわりに
この記事では、Atom(https://atom.io/)を使ってpythonに優しい開発環境を設定して維持する方法を示しました。